|
Methods in the field
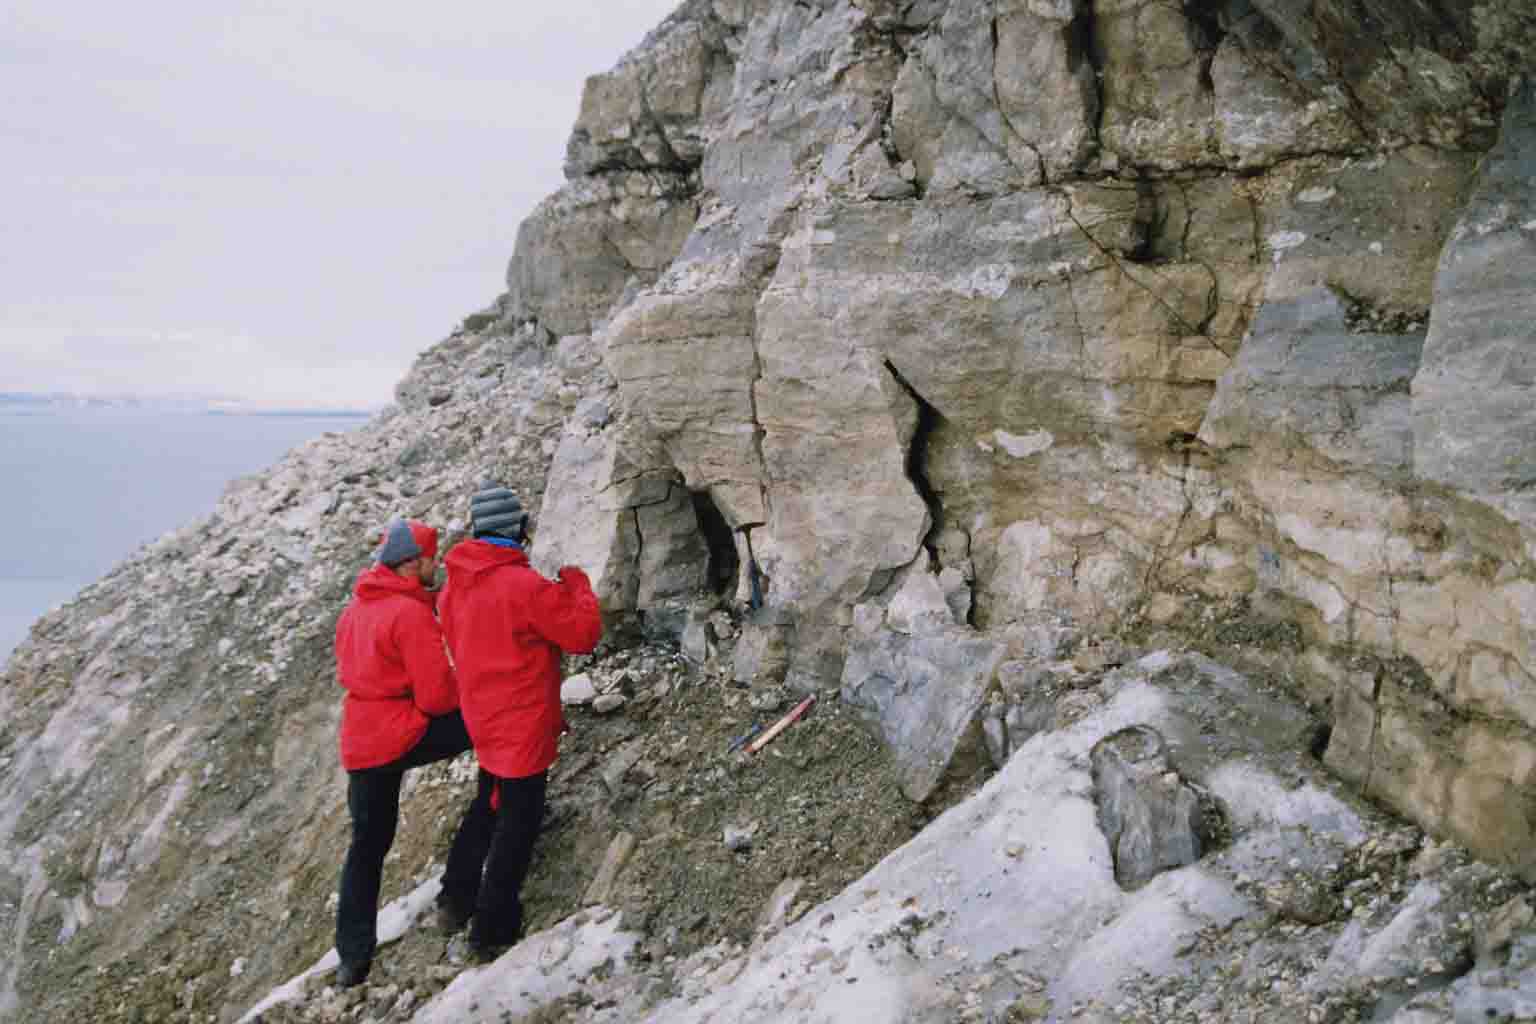
Selecting a site The first step, of course, is to select a site to be investigated. In the case of this project, the site was to be one which had not previously been investigated, and which according to existing geological maps contained late Carboniferous and Permian strata. Once a site or several potential sites were selected from the map, the most accessible ones were visited. This reconnaissance was done largely by rubber boat when no helicopter was available. Therefore, access to sites was limited to what was accessible by boat and on foot. The aid of a helicopter naturally makes scoping out potential sites much easier and quicker. Sometimes setting up a side camp at a site which is far away from the base camp may be preferable: a side camp was erected at VG2, as the trip from the base camp to the site was long and difficult (involving a boat trip, crossing a glacier, and hiking across morraines).  Often, although most of the site may be snow and ice free, a good
portion of the bedrock can be hidden due to the extensive amounts of
rock scree covering the slopes of mountains on Svalbard. On approaching
a new location, some reconnaissance must be done to locate the best
outcrop to make a profile of. In many cases, a continuous profile
cannot be completed, so sections from different cliffs in the same area
must be correlated (as was especially the case with VG2). A plan is made which area is best
suited to log, and how to access it (can you climb the mountain over
snow banks? does it look icy or dangerous?) Often, although most of the site may be snow and ice free, a good
portion of the bedrock can be hidden due to the extensive amounts of
rock scree covering the slopes of mountains on Svalbard. On approaching
a new location, some reconnaissance must be done to locate the best
outcrop to make a profile of. In many cases, a continuous profile
cannot be completed, so sections from different cliffs in the same area
must be correlated (as was especially the case with VG2). A plan is made which area is best
suited to log, and how to access it (can you climb the mountain over
snow banks? does it look icy or dangerous?)What to look for When investigating sedimentary rocks, there are several aspects which should be observed and (most importantly) written down:
Logging a section Generally, we began at the base of a section and worked our way up. It is also possible to begin at the top and work down, if the outcrop is more accesible from the top of the mountain (sometimes a helicopter drop-off may be possible). To log a section, the strata must be divided into units. 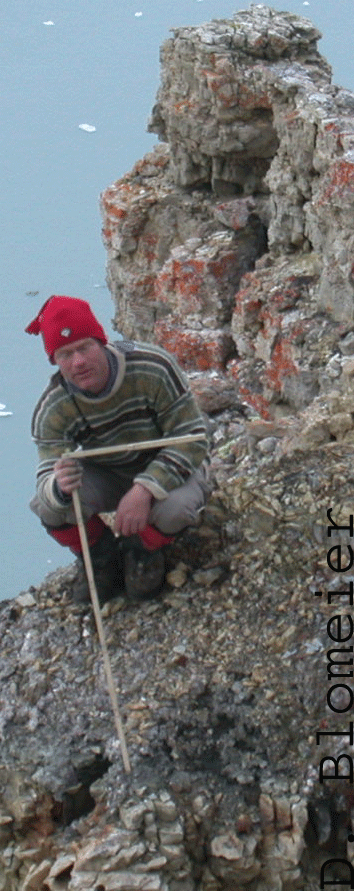 When the extent of the first unit has been decided upon, the thickness of it is measured using a meter stick. The unit is then described concerning the aspects listed above. If there are individual beds or horizons within the unit, the thicknesses of those should also be measured. All of this is recorded in a field notebook. When necessary, graphic logs may be drawn in the field notebook: these can sometimes be a better clarification than a written description. 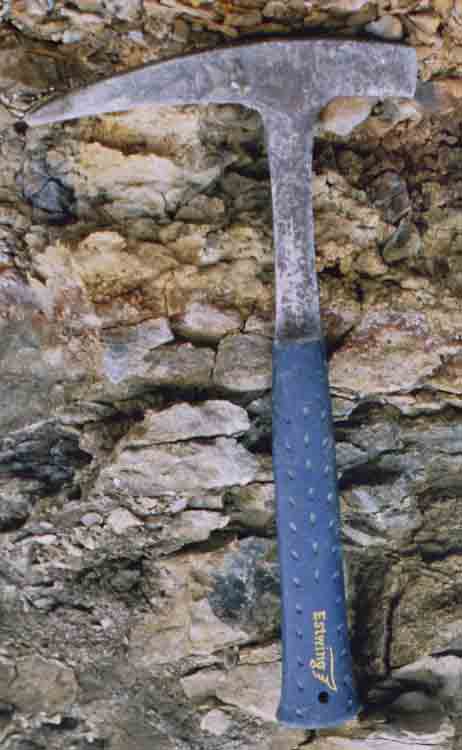 Usually at least one sample is taken from each unit. Often, samples are
taken from several individual beds within a unit. Samples must be from
in situ rock, and should be as little-weathered as possible, and as
stable as possible so they don't fall apart. These samples are labelled
and the unit which they were taken from, as well as distance from the
top or bottom of the unit from which they came is recorded. These
samples will be later used to make thin sections, or for other various
analyses. Some brachiopods were collected for dating purposes. Usually at least one sample is taken from each unit. Often, samples are
taken from several individual beds within a unit. Samples must be from
in situ rock, and should be as little-weathered as possible, and as
stable as possible so they don't fall apart. These samples are labelled
and the unit which they were taken from, as well as distance from the
top or bottom of the unit from which they came is recorded. These
samples will be later used to make thin sections, or for other various
analyses. Some brachiopods were collected for dating purposes.Photos are taken of the outcrop, and of fossils, sedimentary structures, mineral occurrences, etc. These must always include a scale: a lense cap, hammer, or a colleague are good scales. In this manner, a section is logged. During the August 2006, 3 sections were logged: VG1, VG2 and VG3. (Tucker 2000) |
||||||||||


